|
| ||||||||||
|
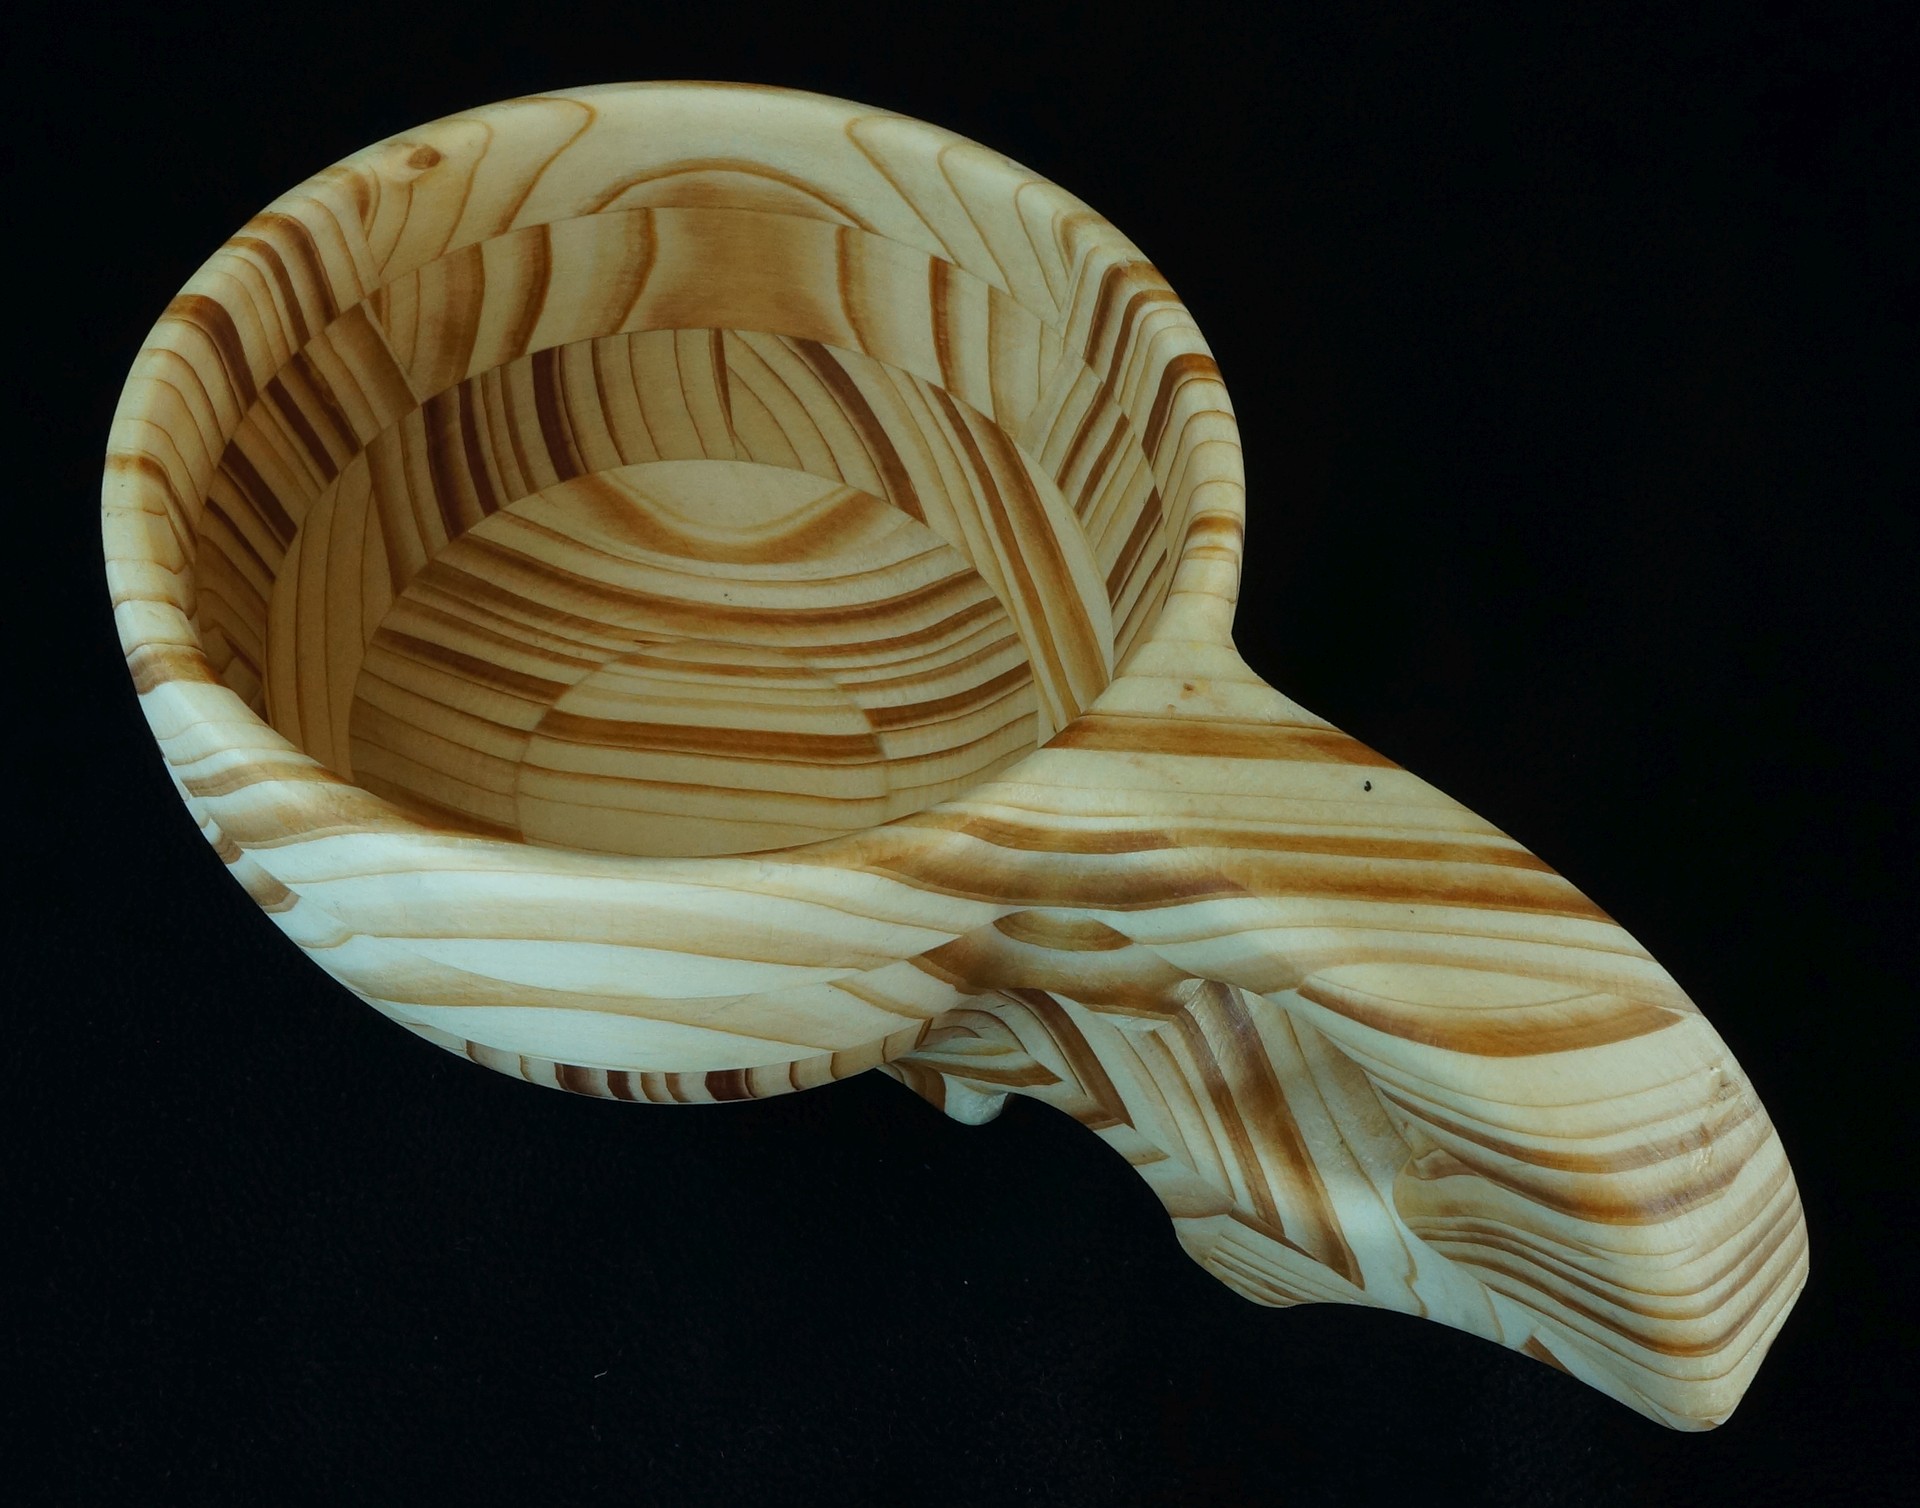
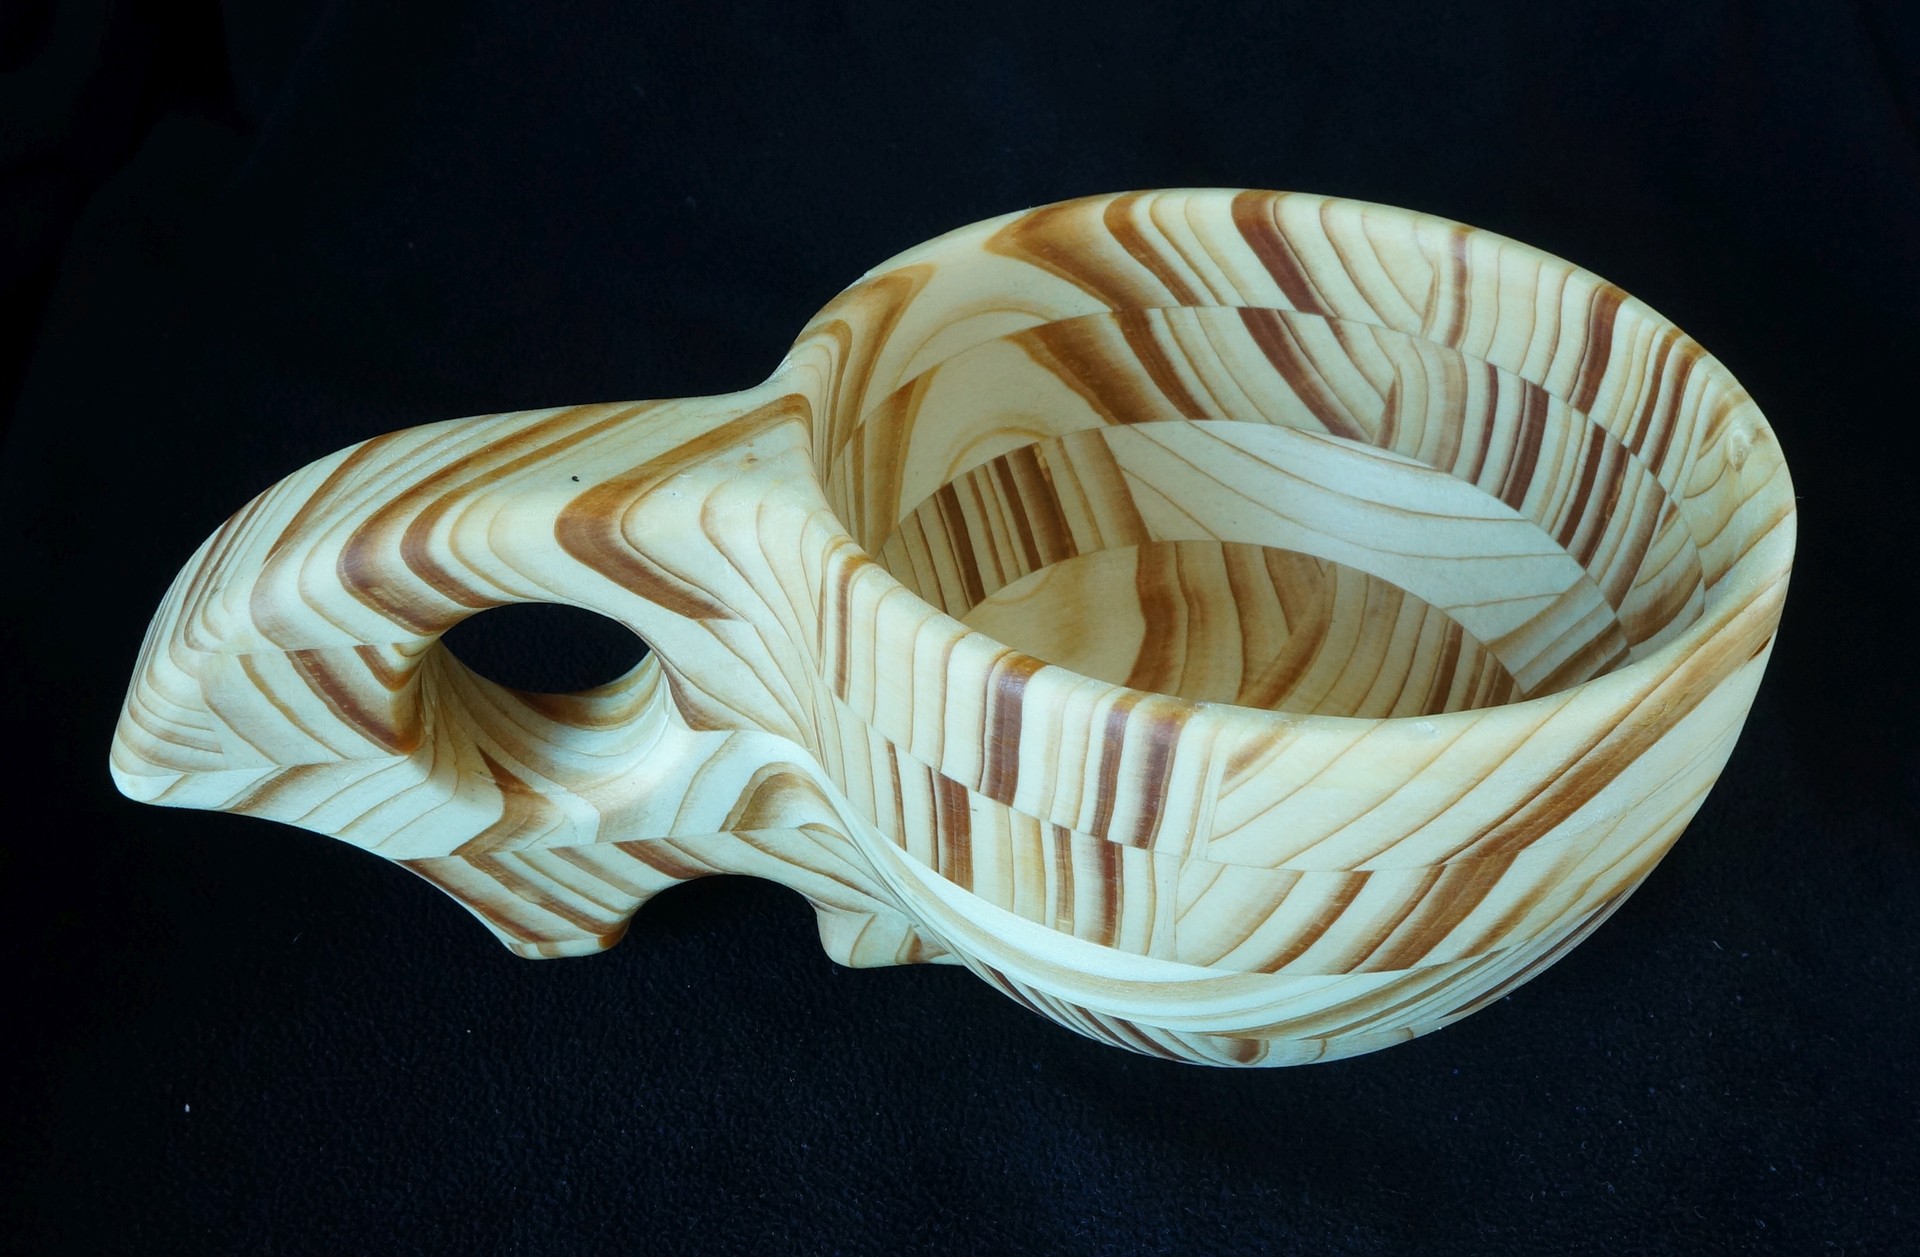
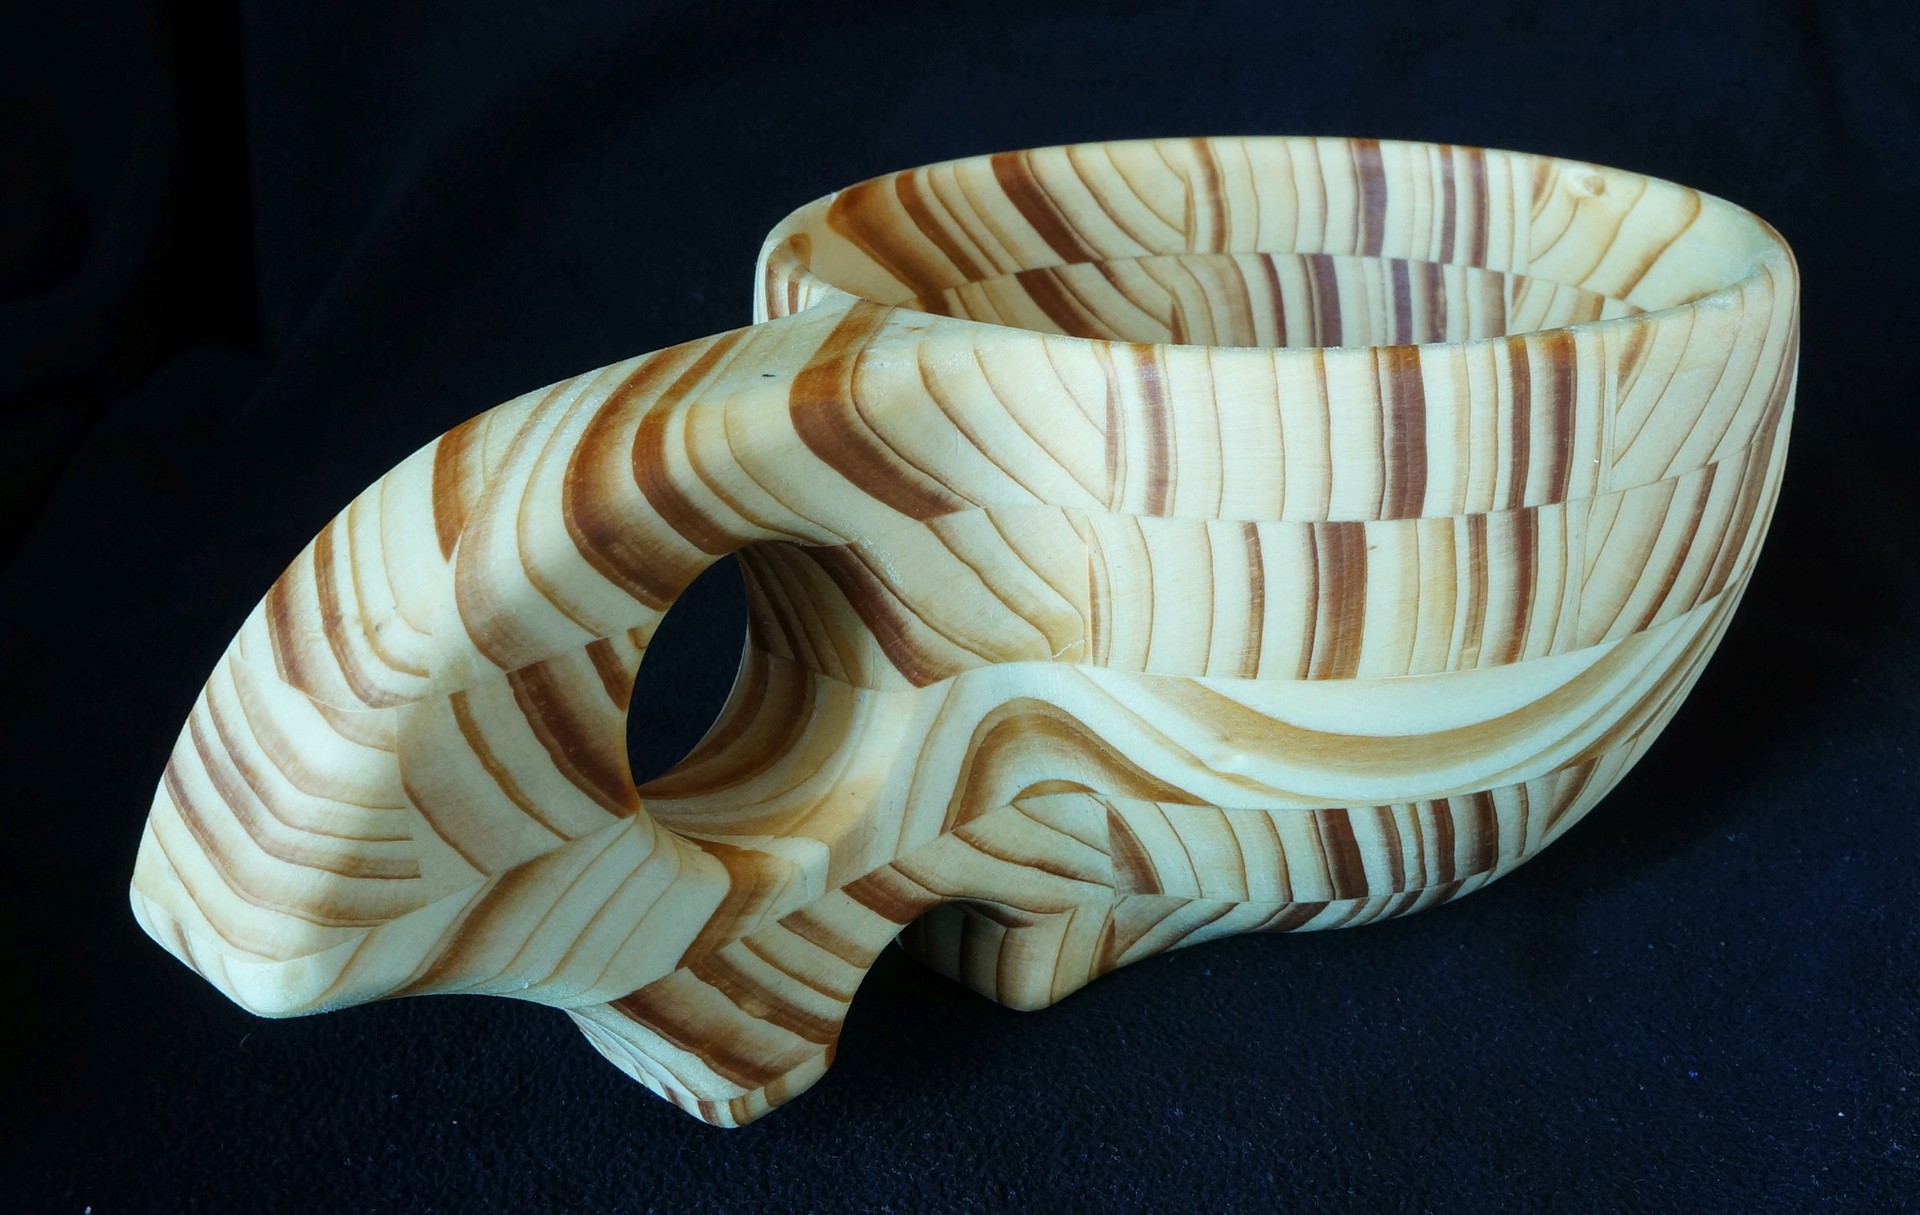
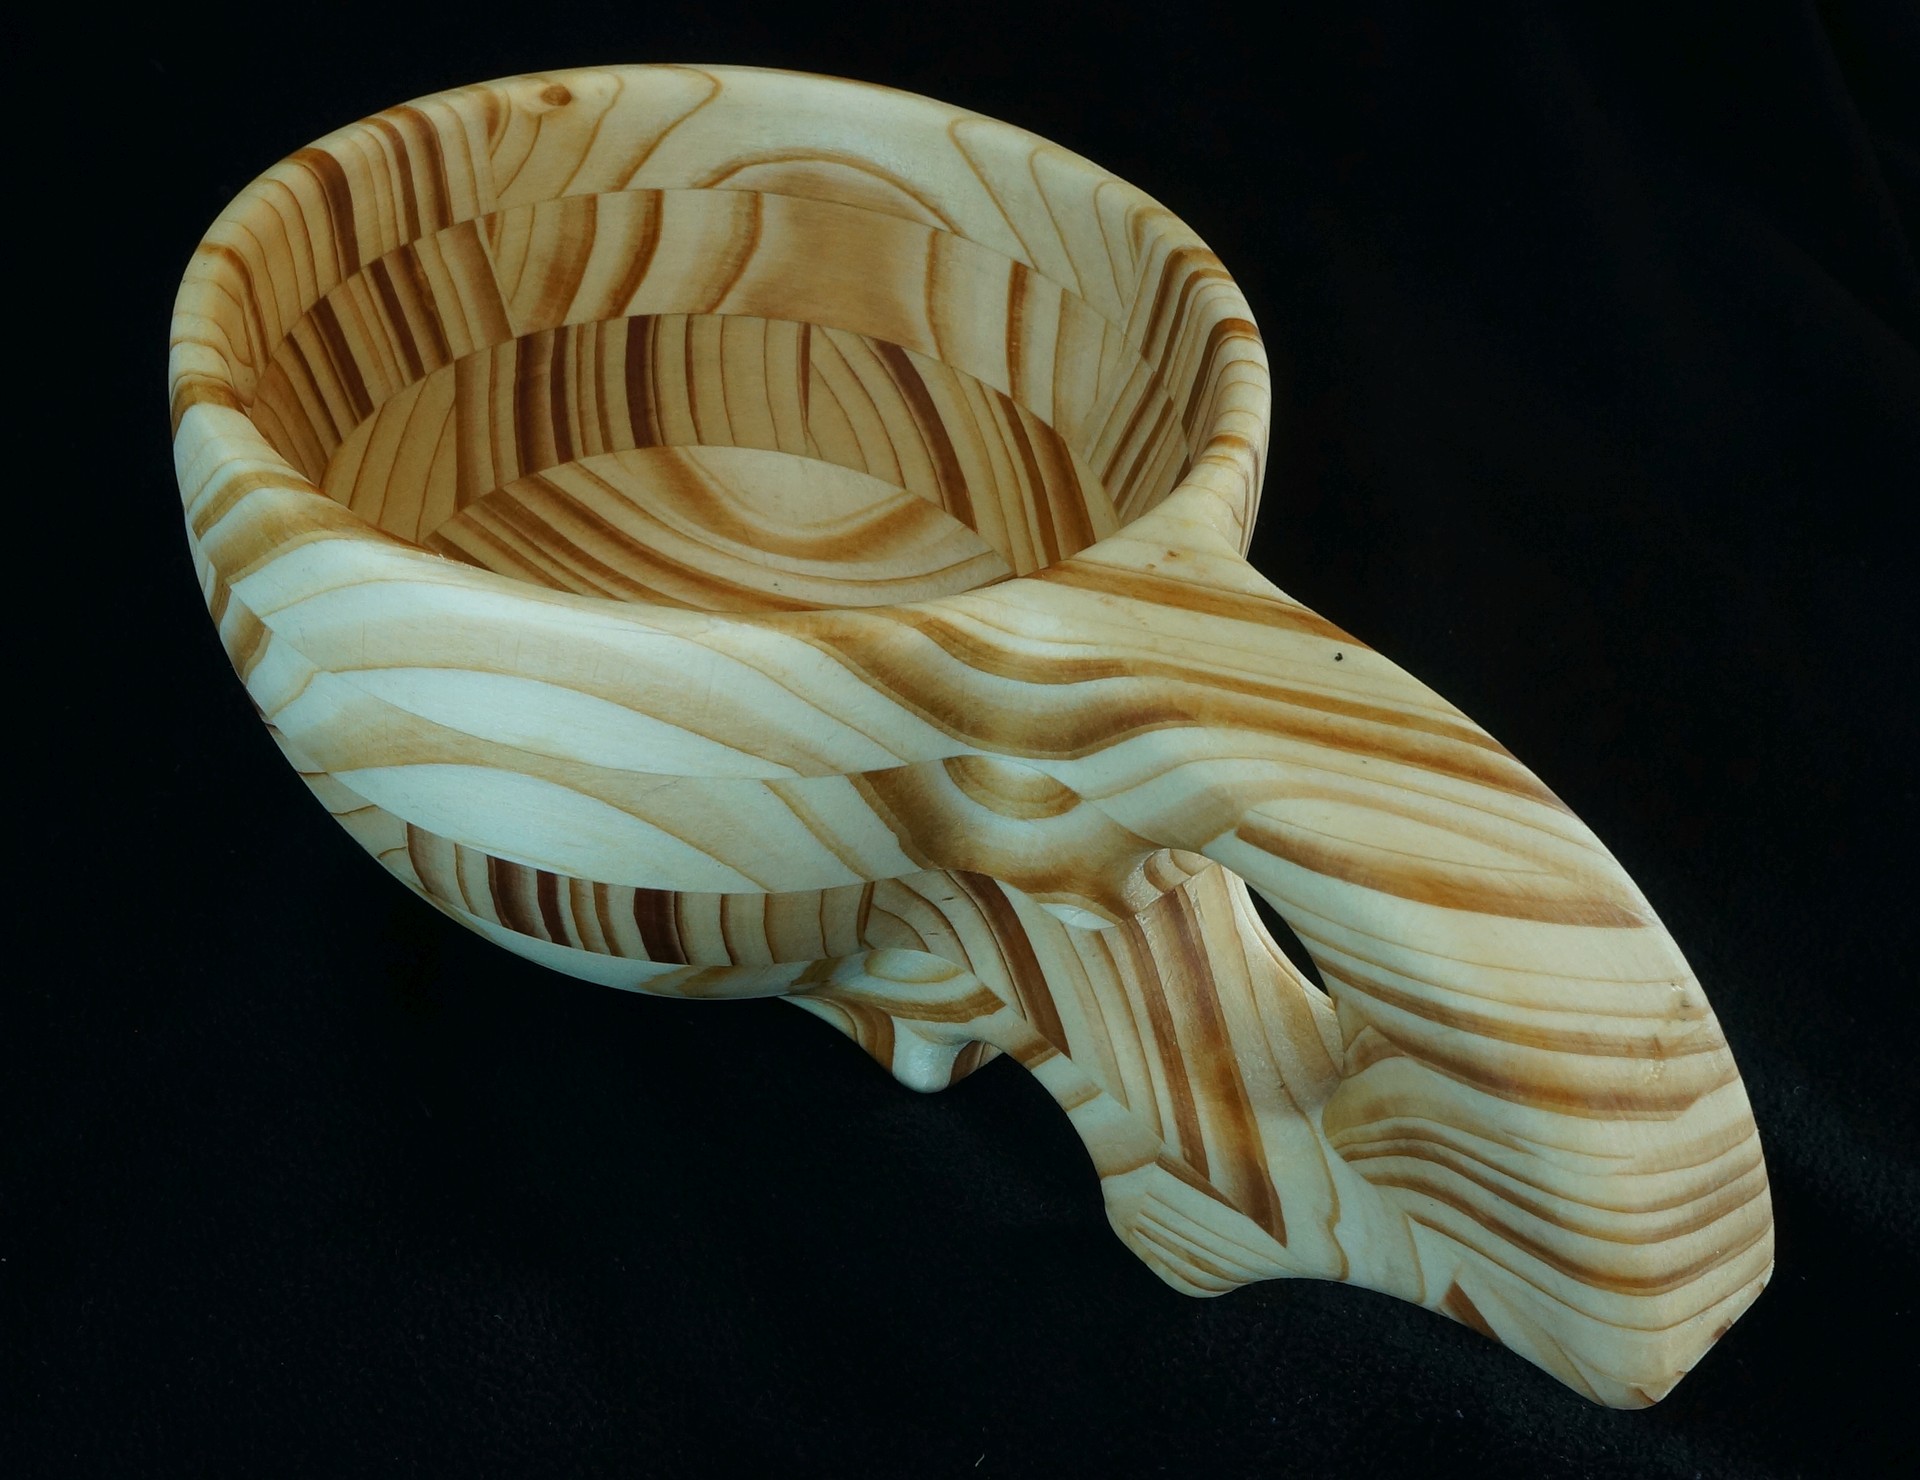
Wooden cup / Finnish "Kuksa"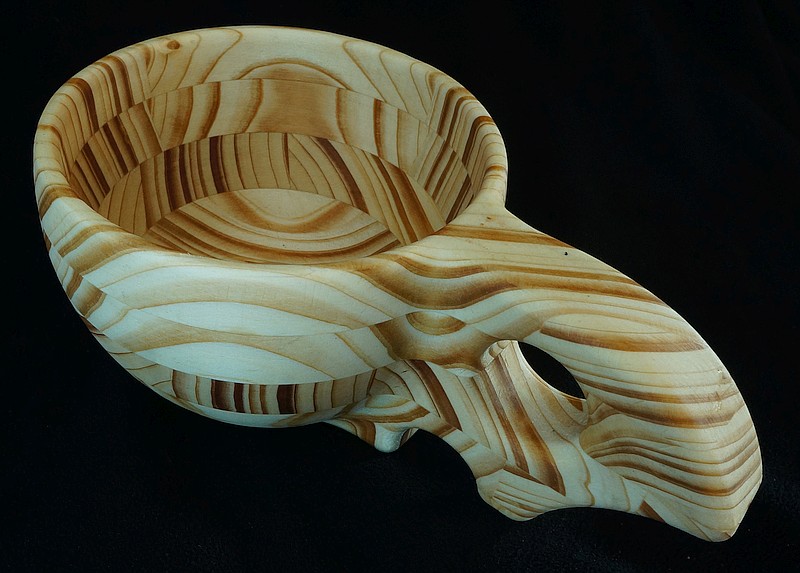
Material: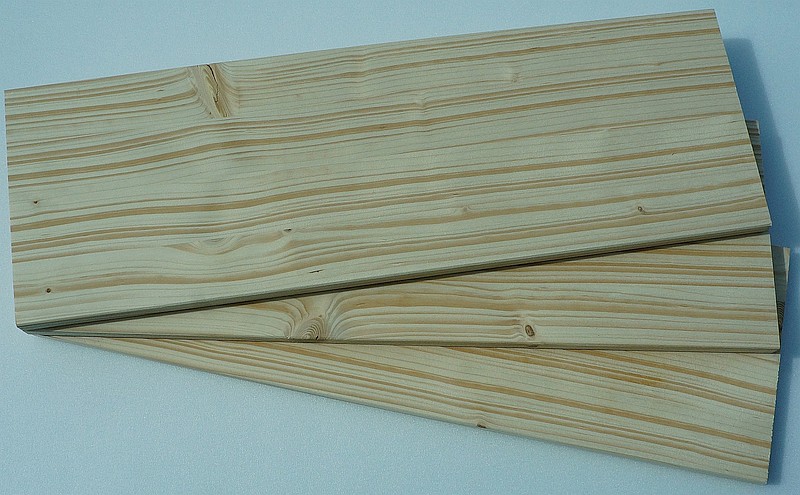 My local hardware store recently offered cheap spruce boards. Well... most of the stuff was actually unusable but the price was too tempting and one of the boards showed a nice grain pattern. After sifting throug the rest of the pallet I finally found 3 boards I liked and decided to try a Finish "Kuksa"... Modelling: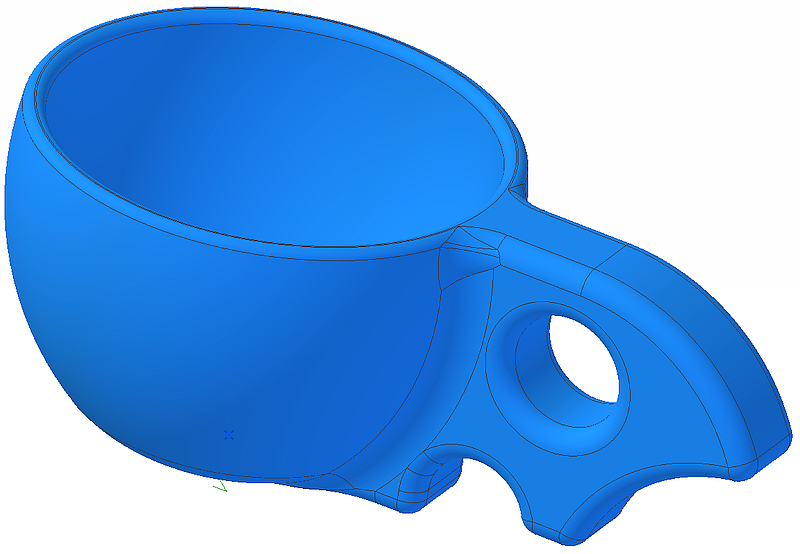 The cup is modeled in Alibre Design. Quite simple and finished in a few minutes... You can download the file at the end of this page... Cutting blanks: To save material and cutting time I've decided to cut slightly oversized blanks rather than machining a rectangular block... Glueing: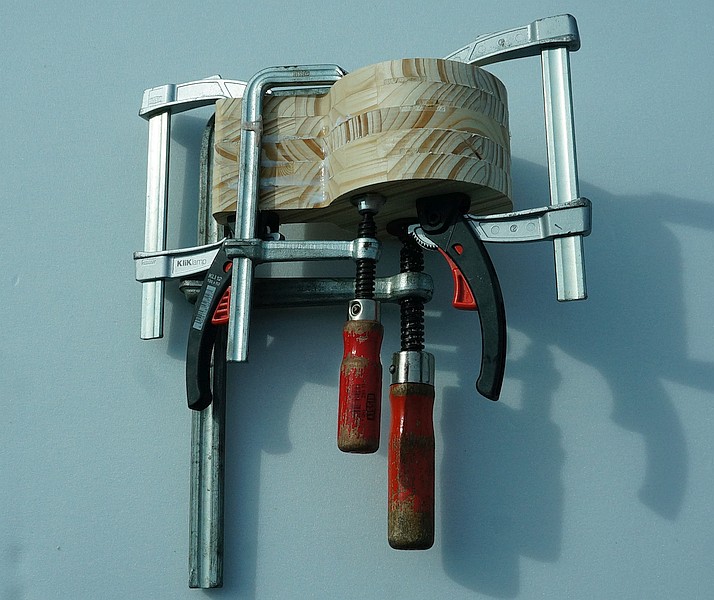 The cup is about 85mm high so I've selected the best five 18mm blanks and glued them together... Alignment template: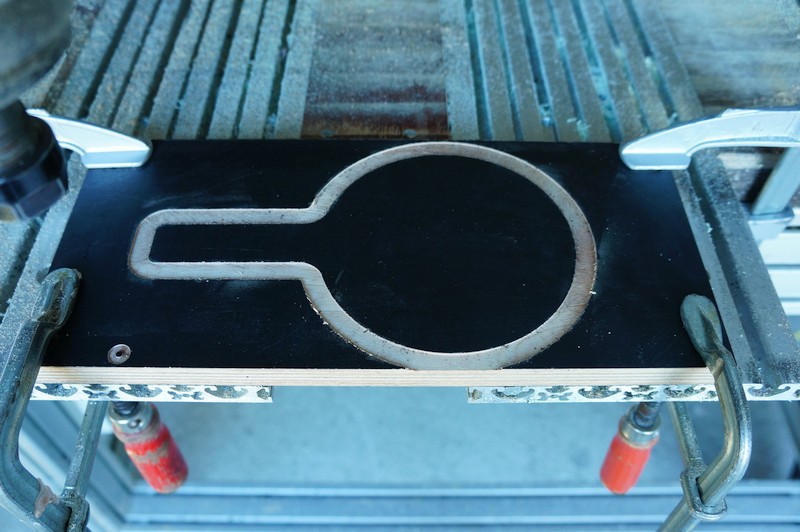 To make alignment easy the cups outline is cut into the spoil board... Fixing: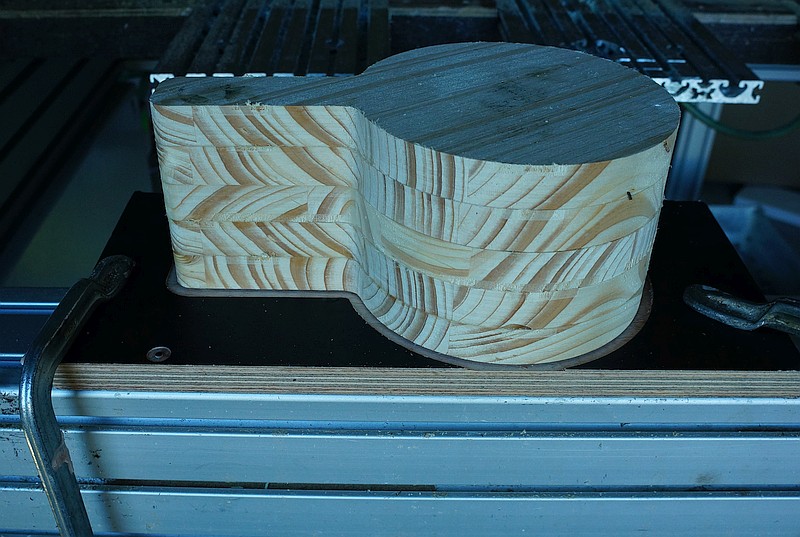 Then the whole block is glued to the spoild board with 5 minute expoxy resin... Bad Idea??? Well wait until later ;-) Roughing the upper side: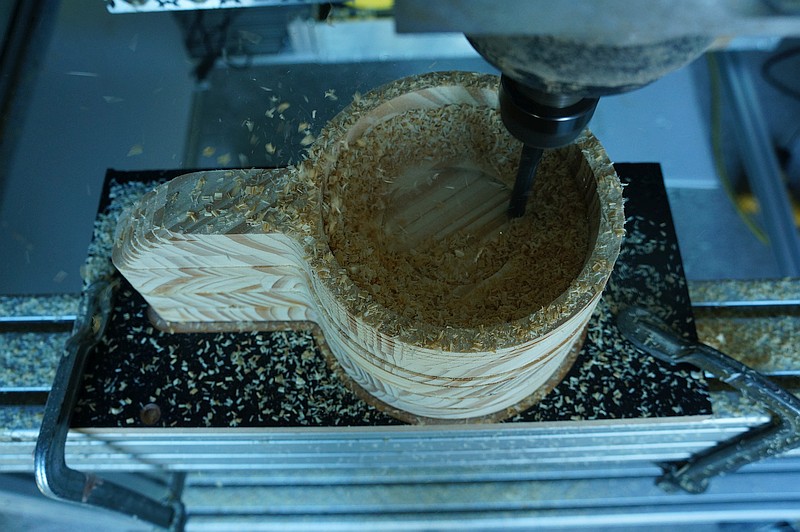 Roughing the upper side of the cup... 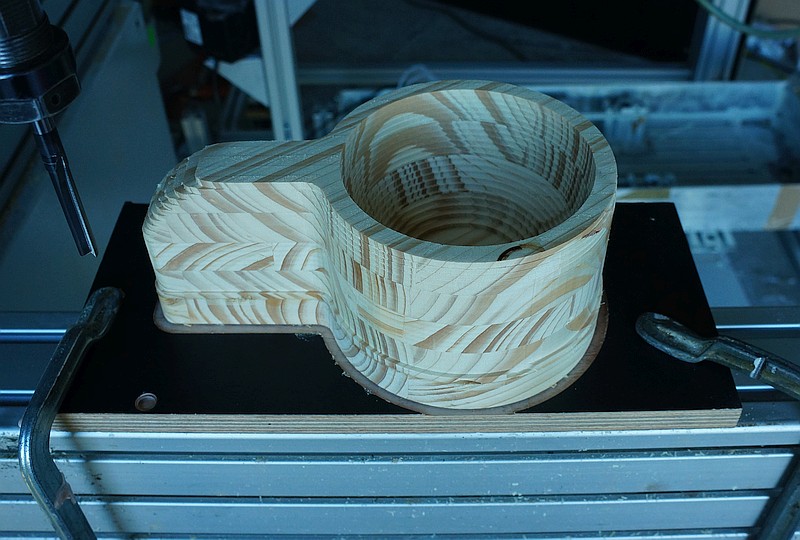 The tool I've used is acutally not long enough to cut down to the bottom. But it is long enough to clear the inside and reach a level deep enough to pass the largest dimensions in the X/Y plane so it doesn't matter because we can later flip the part and machine the rest from the other side... Finishing the upper side: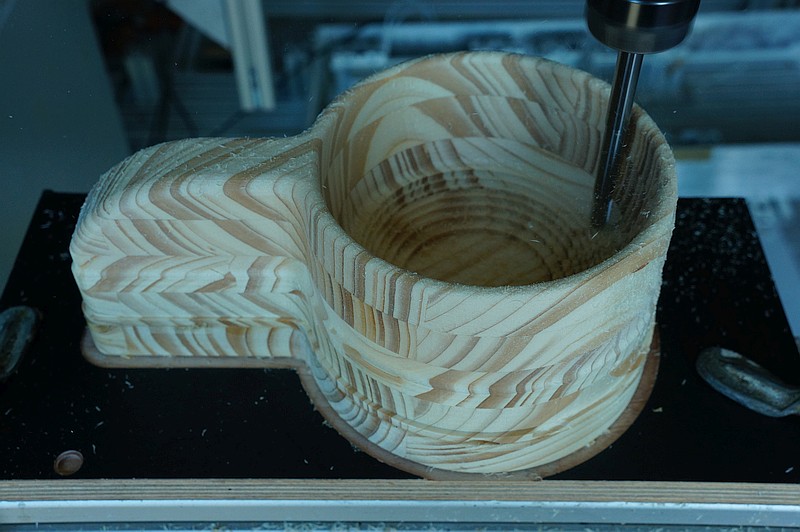 Changed from a regular end mill to a ball nose end mill... 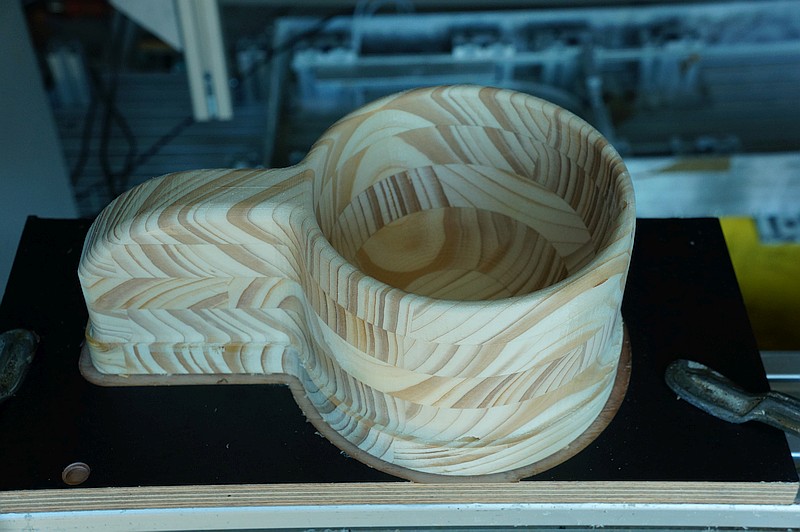 Again the tool is too short but it doesn't matter... Releasing the cup: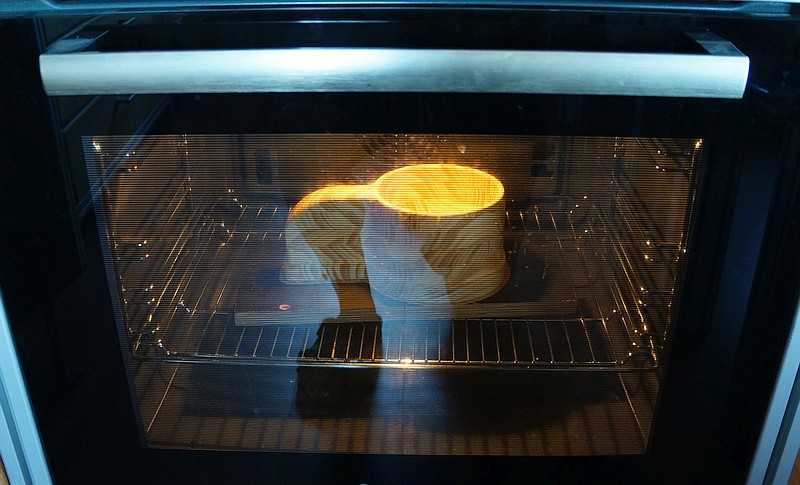 So how do we separate the cup from the spoil board? Well... many fast curing epoxy resins are heat sensitive and will get soft at temperatures above 100°C. If you put them into the oven and wait a few minutes the cup will just fall off... But check your resin first - I've used "Krick 5 Minuten Epoxy" and "Uhu Sofortfest" will also work but some will not... Another solution is non-waterproof wood glue... Machining the other side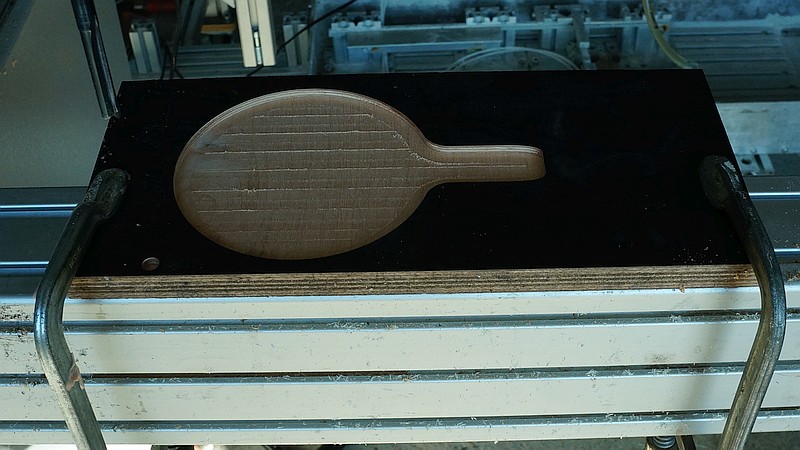 This time precise placement is absolutely crucial. If you're off by 0.1mm you'll have to sand a lot and if you're off by 1mm you can throw the part into the bin... So again I've cut a snugly fitting template to align the cup automatically with perfect precision... 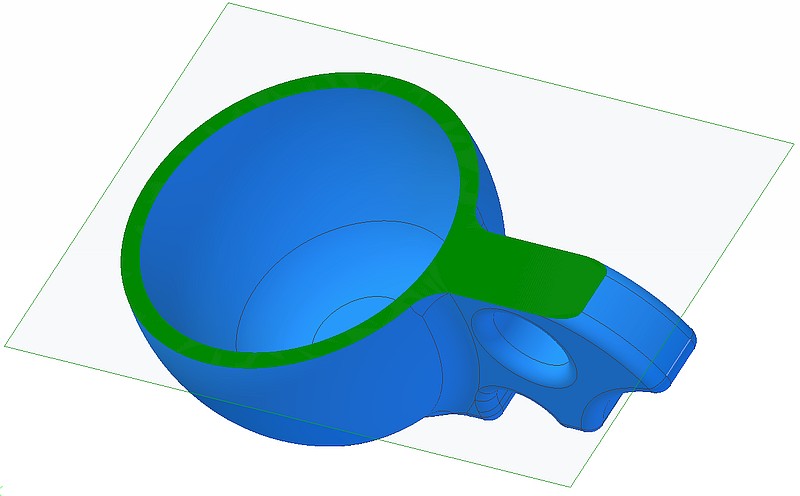 My template cut is 5mm deep. To get the correct shape I've just created a temporary cut view where the topmost 5mm are removed: Roughing the lower side: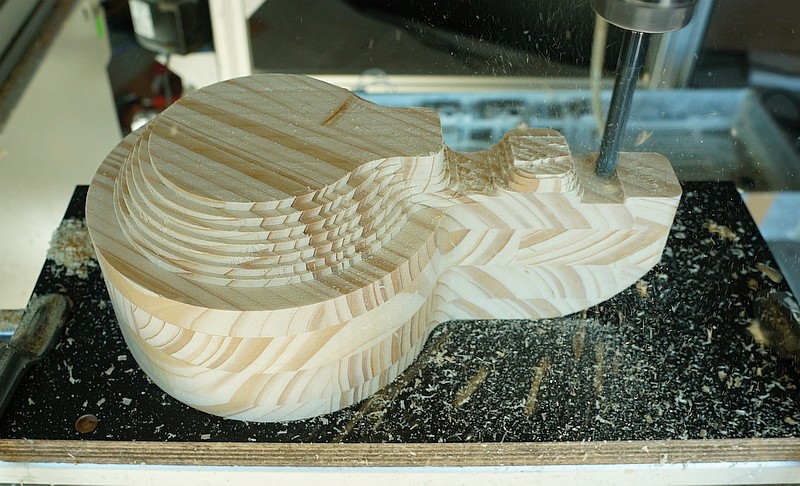 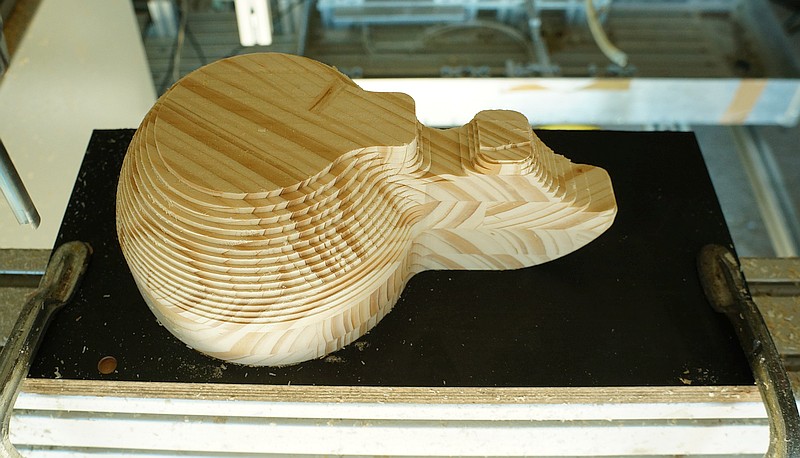 Finishing the lower side: 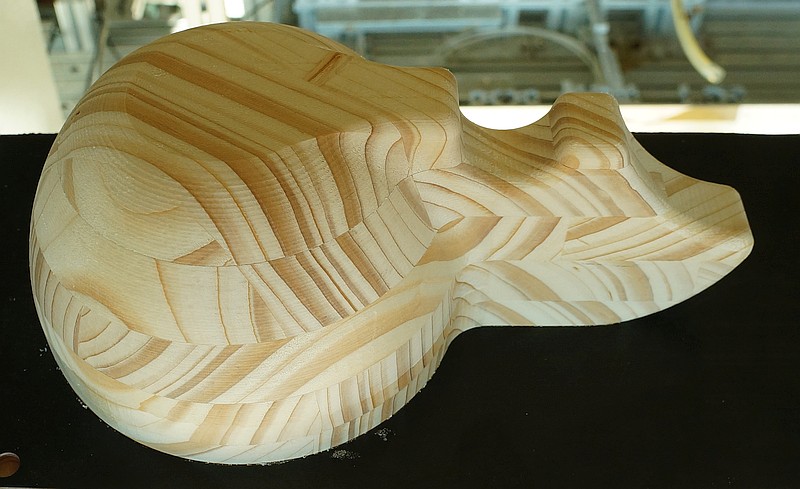 And another template for the cups handle hole: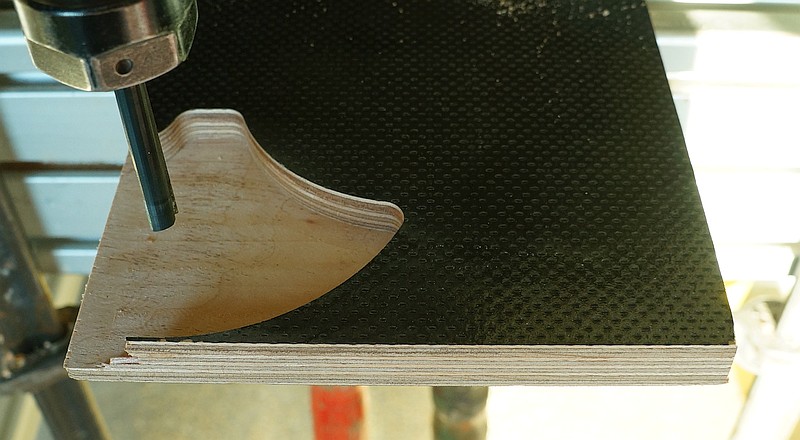
Machining the handle hole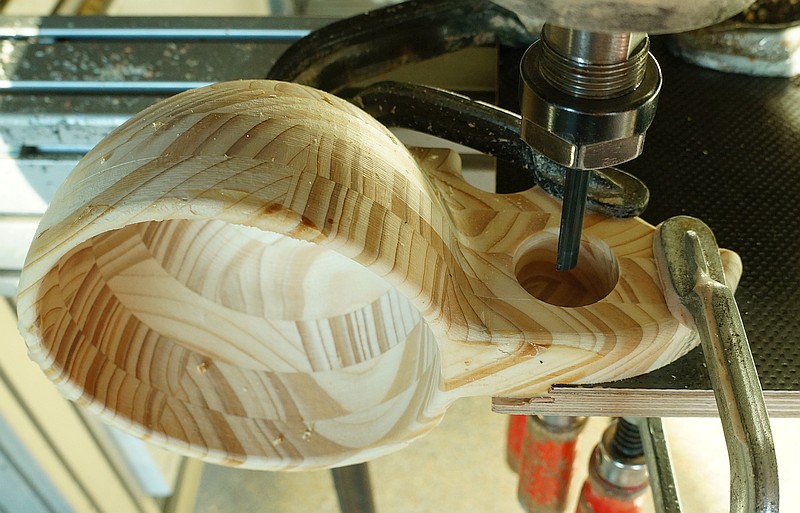 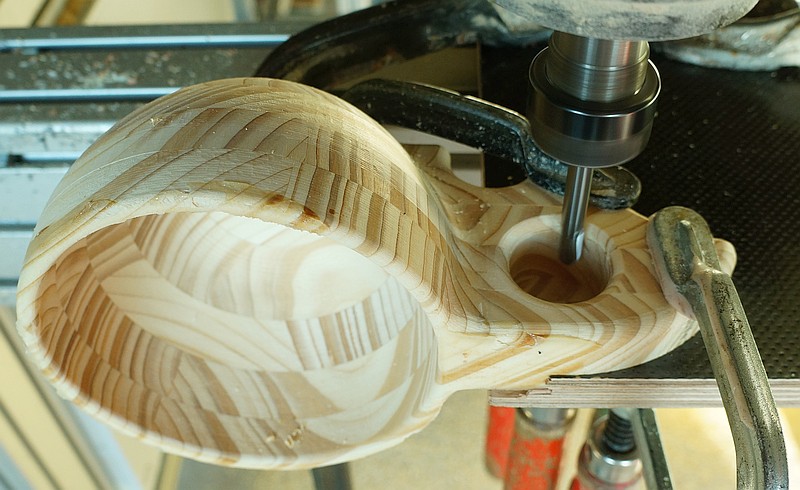 For the handle hole I've created a separate STL file showing just the hole and put the origin into its center... Final steps

You can download all files for the cup here... | |||||||||